
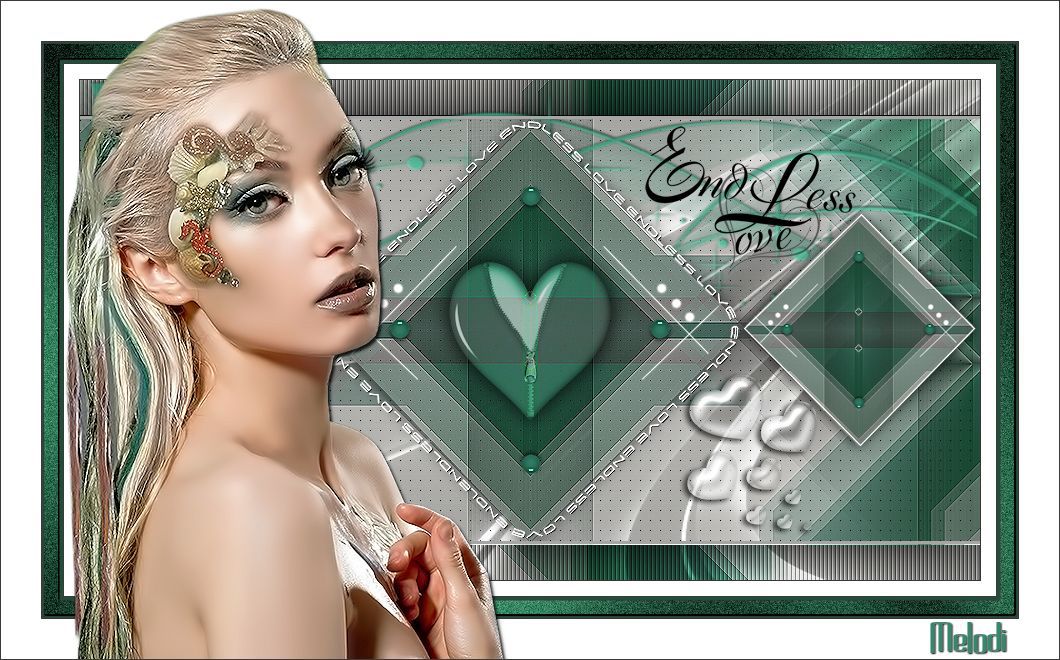
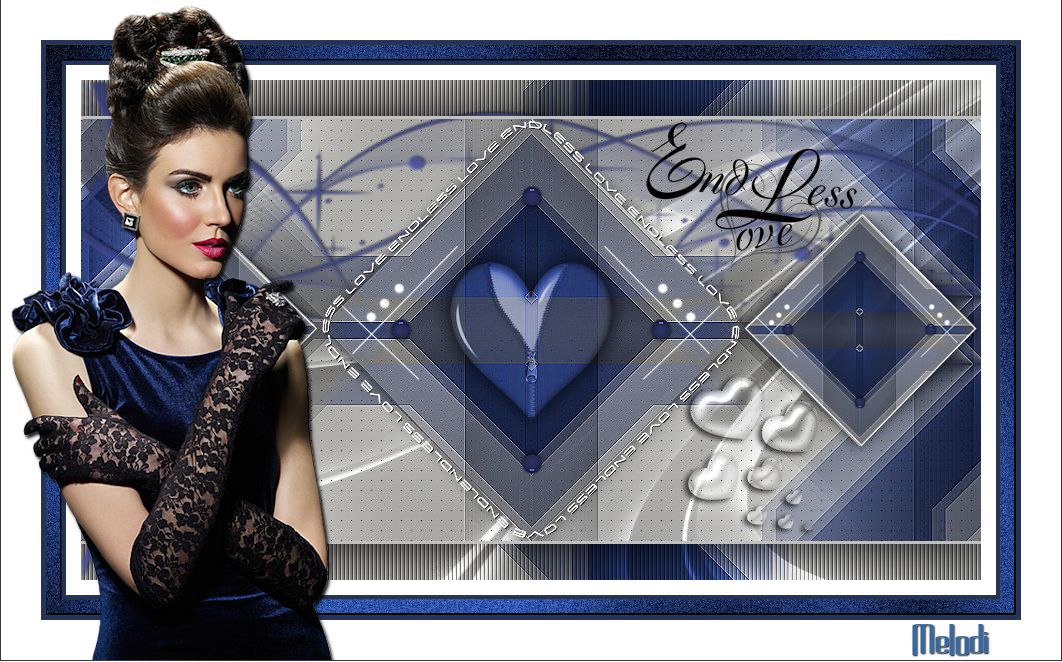
Endless Love


ENDLESS LOVE
This tutorial is written in PSP x6
Tubes : MARY
Mask: Narah
Plugins:
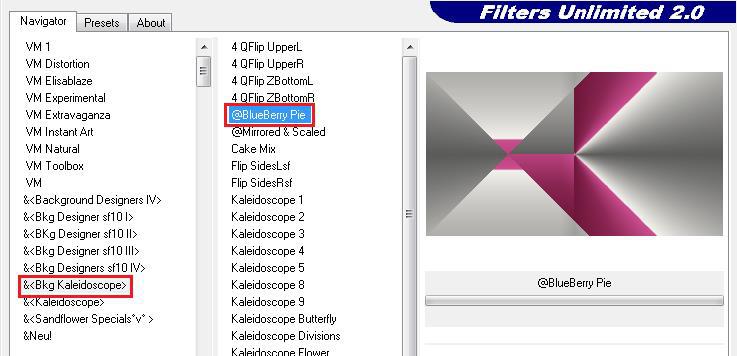
Filters Unlimited 2.0 – Bkg Kaleidoscope – 4Q Flip UppeR
Filters Unlimited 2.0 – Bkg Kaleidoscope @Blue Berry Pie
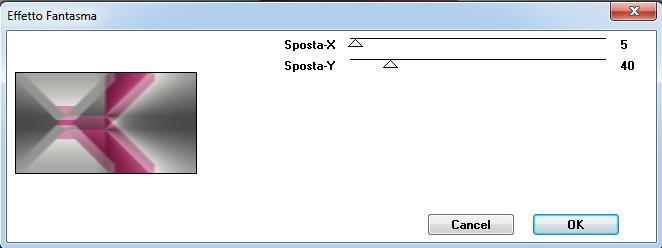
İt@lian Editors – Efetto Fantasma / Sposta
AP [Lines] Lines – Silverlining / Dotty Grid /
Greg's Factory Output Vol II - Pool Shadow
Alien Skin Eye Candy 5:Impact-Perspective Shadow-
Preparation:
The colors, layer density and blending mode are for the materials of this lesson. If you use different material, just take a look at what is best for you...
Before Open PSP copy the selection and gradient file in the Folder of PSP
Download materials by clicking below


My Colors


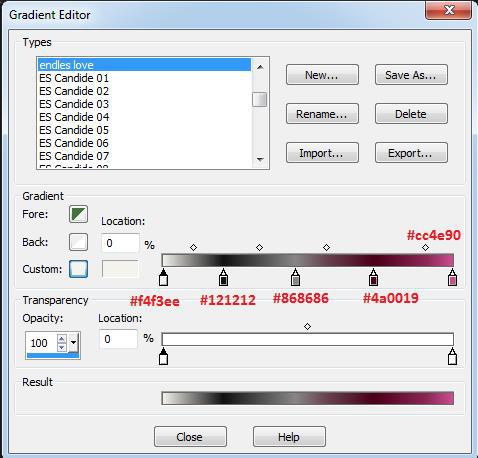
#373737 #a6a6a6 #cc4e90 #4a0019 #86868 # f4f3ee #d43a91
If you're ready, let's start
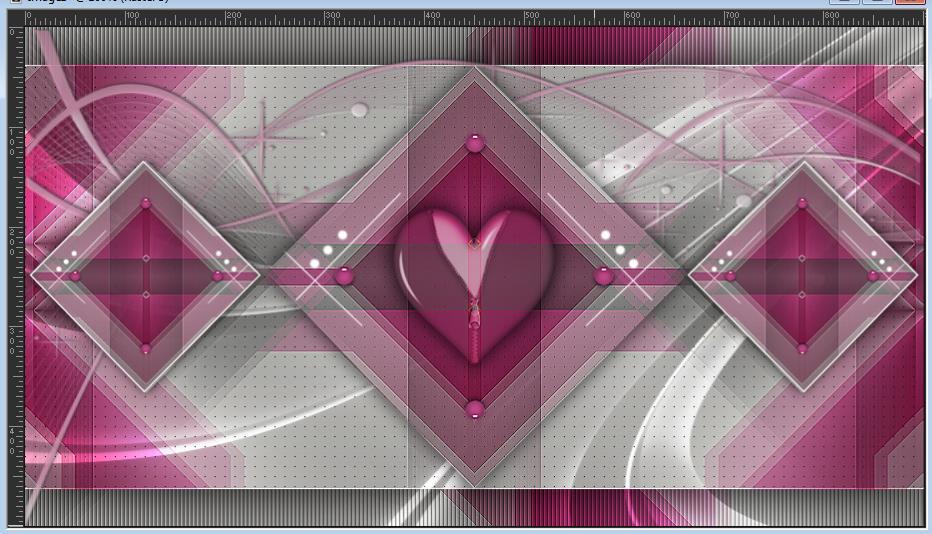
STEP 1
File / New - Open 900 x 500 Transparent Image Raster 1
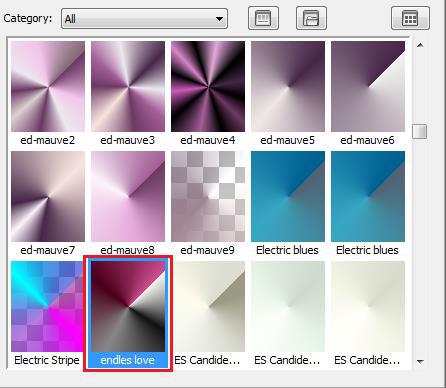
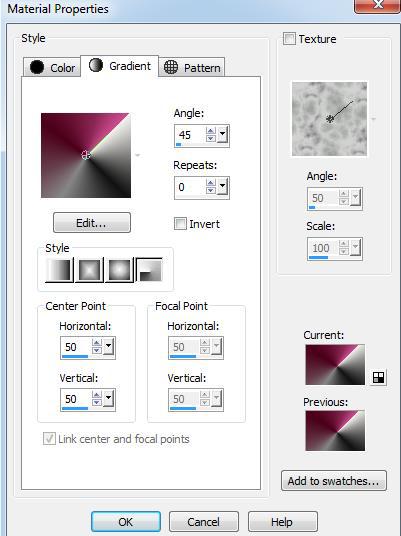
Open endless love gradient from gradient file /
Angle 45 / Repeats 0 / Style Radial
Note: You can change your colors according to your work
Flood fill - Fill With your Gradient
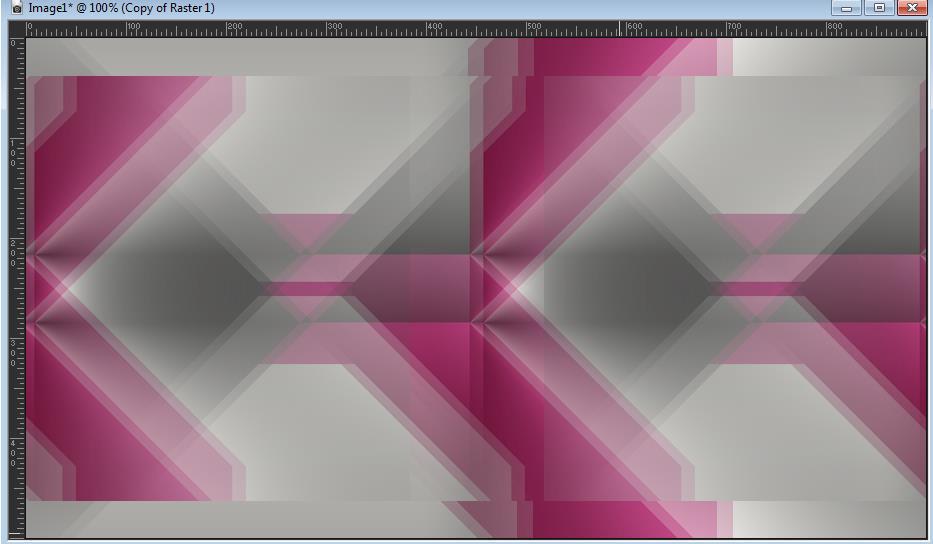
Effects - Plugins - Filters Unlimited 2.0 – Bkg Kaleidoscope – 4Q Flip UppeR

Effects - Plugins - Filters Unlimited 2.0 – Bkg Kaleidoscope @Blue Berry Pie
Effects - Plugins – İt@lian Editors – Efetto Fantasma / Sposta –X 5 Y 40
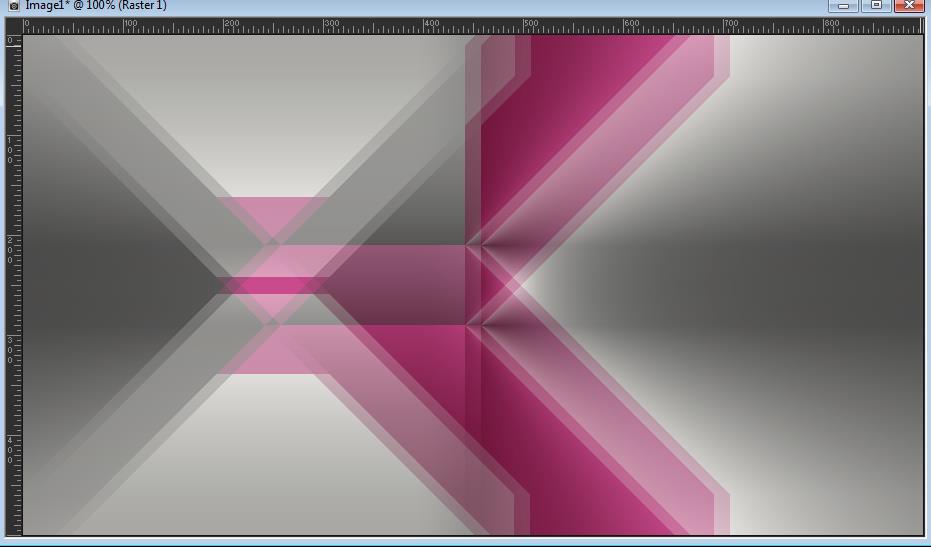
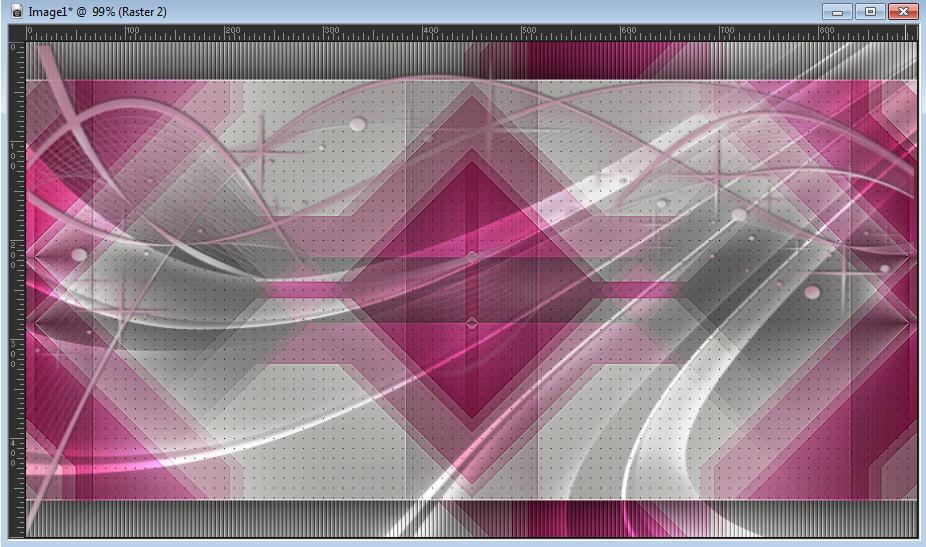
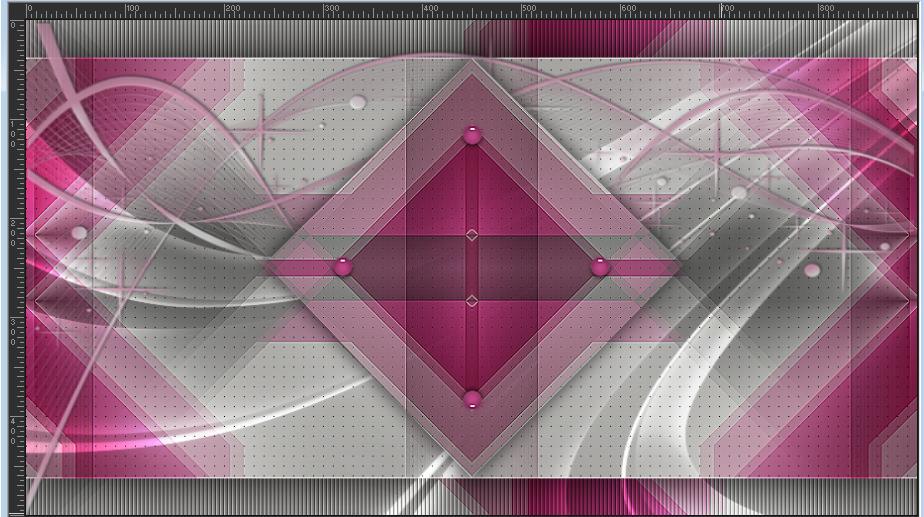
Result:
STEP2
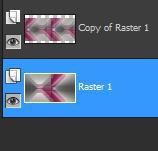
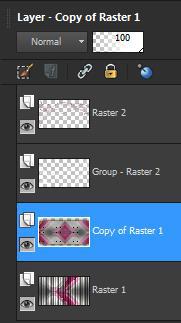
Layers – Duplicate Copy of Raster 1
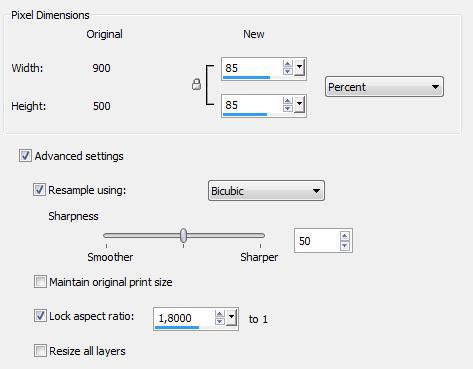
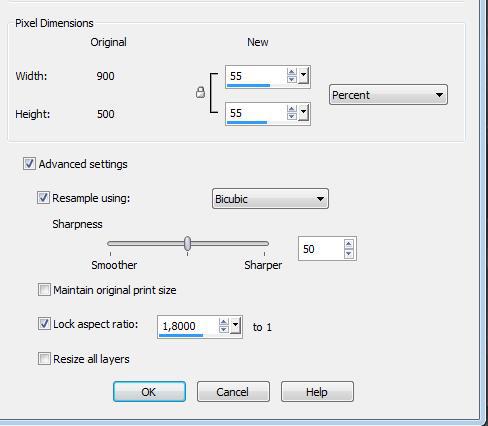
Image - Resize with 85%; resize all Layers NOT checked
Effects - Images Effects - Seamless tiling: Corner / Horizontal / 0,0,50,100 / Curved
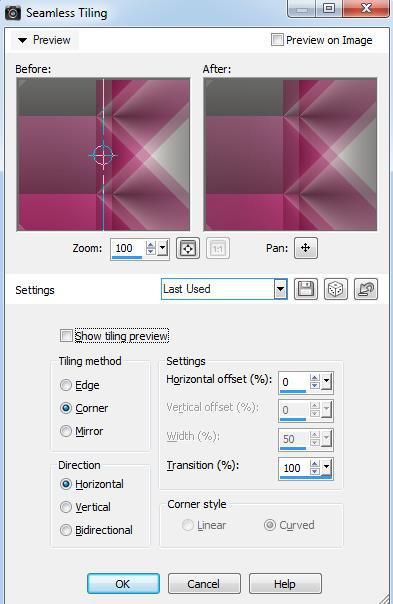
Result:
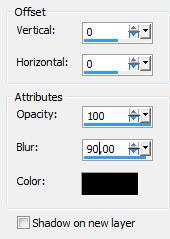
Effects - 3D Effects - Drop Shadow: 0/0/100/90 color: BLACK
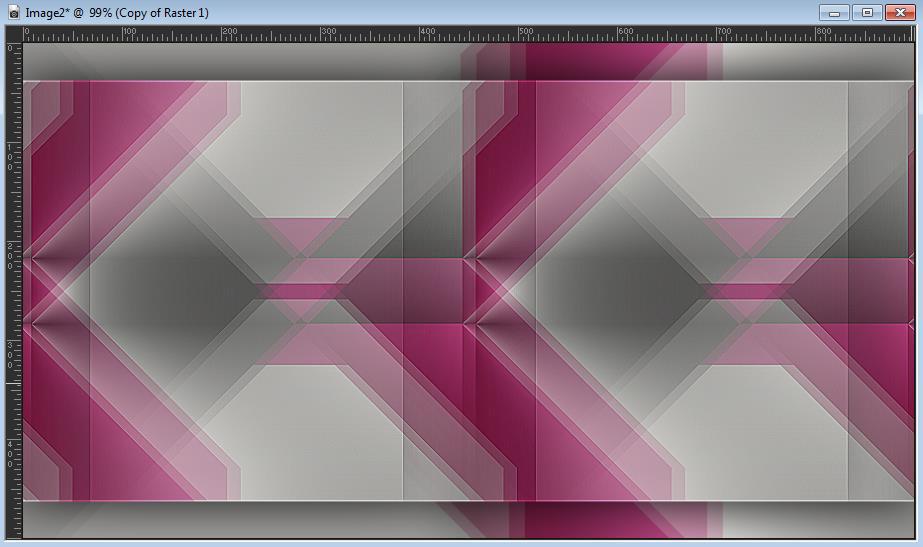
Effects – Edge Effects – Enhance
Result
STEP 3
Active Raster 1
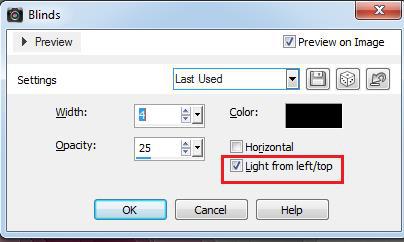
Effects -Texture Effects /Blinds – Width: 4 / Opacity 25 Color #000000
Effects – Edge Effects - Enhance
Result

Active Copy of Raster 1
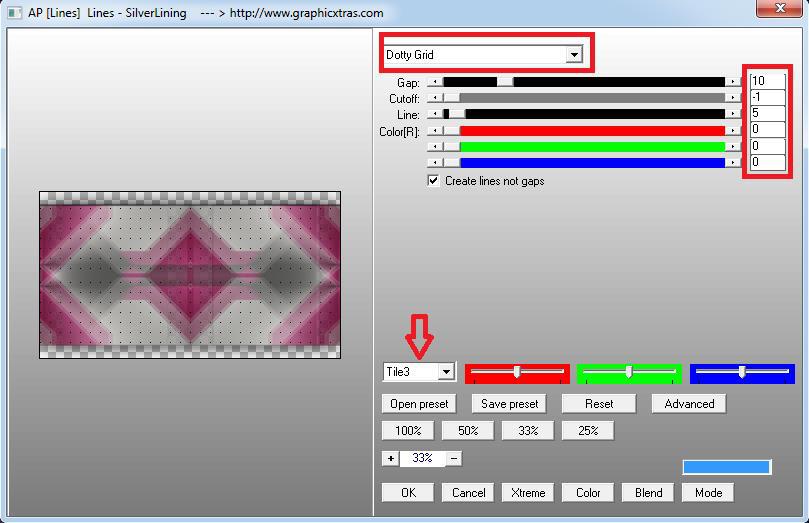
Effects –Plugins / AP [Lines] Lines – Silverlining / Dotty Grid / 10, -1, 5, 0,0,0/Tile3
(Click on blent option Press T)

(Click on blent option Press T)
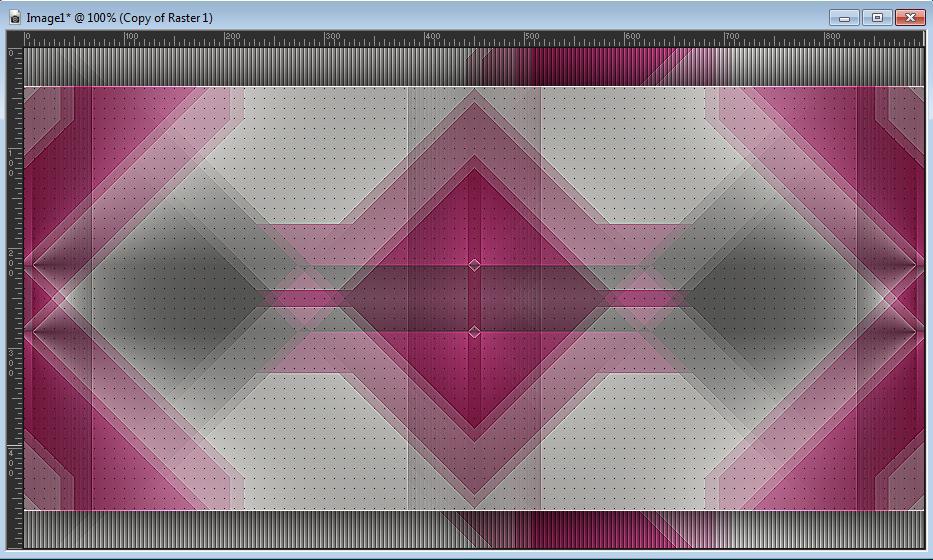
Result
STEP 4
Layers - New Raster Layer * Raster 2*
Flood fill - Fill With your Background Color #FFFFFF
Layers - New Mask Layer - From Image ( Narah-Mask )
Layers - Merge - Merge Group * Group - Raster 2*
Layer Palette - Double click on this Layer and set the Blend Mode to (Overlay )
STEP 5
Layers - New Raster Layer * Raster 2*
Selections – Select All
File-Open-deco
Edit / Copy
On your work image: Edit -Paste Into Selection
(If you can't adjust the color, apply blend mode luminance)
(If you can't adjust the color, apply blend mode luminance)
Adjust – Sharpness – Sharpen
Selections – Select None
Result
STEP 5
Aktive Copy of Raster 1
Selections - Load/Save Selections - Load Selection From Disk / Melodi Endless-Love1
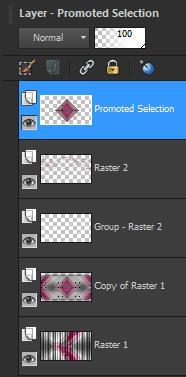
Selections- Promote Selection to Layer
Selections - Select None
Layer Arrange / Bring to Top
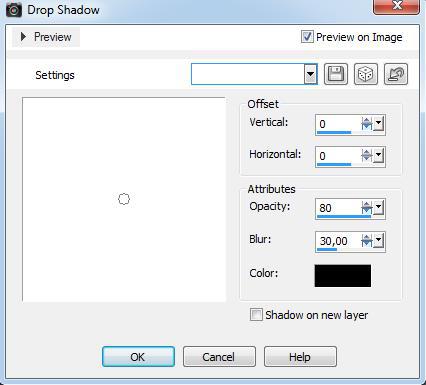
Effects - 3D Effects - Drop Shadow 0,0,80,30 Black
Adjust /-Sharpness /Sharpen
Open Deco Melodi endless love 1.pspimage
Edit / Copy
On your work image: Edit - Paste As New Layer
Adjust Sharpness – Sharpen More
Merge / Merge Down
Result
STEP 6
File-Open- Melodi endless love.pspimage2
Edit / Copy
On your work image: Edit - Paste As New Layer
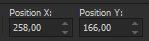
Active Pick Tool -Position X: 258 Position Y: 166
Merge / Merge Down
Layer Duplicate * Copy of Promoted Selection*
Image - Resize with 55%; resize all Layers NOT checked
Active Pick Tool -Position X: 654 Position Y: 124

Layers - New Raster Layer * Raster 3*
Selections - Load/Save Selections - Load Selection From Disk / Melodi Endless-Love2
Flood fill - Fill With your Background Color #FFFFFF
Selections- Modify / Contract 2 pixels
Edit/ Cut
Selection - Select None
Merge / Merge Down
Layer Duplicate * Copy (2) of Promoted Selection*
İmage Miroir
Merge / Merge Down
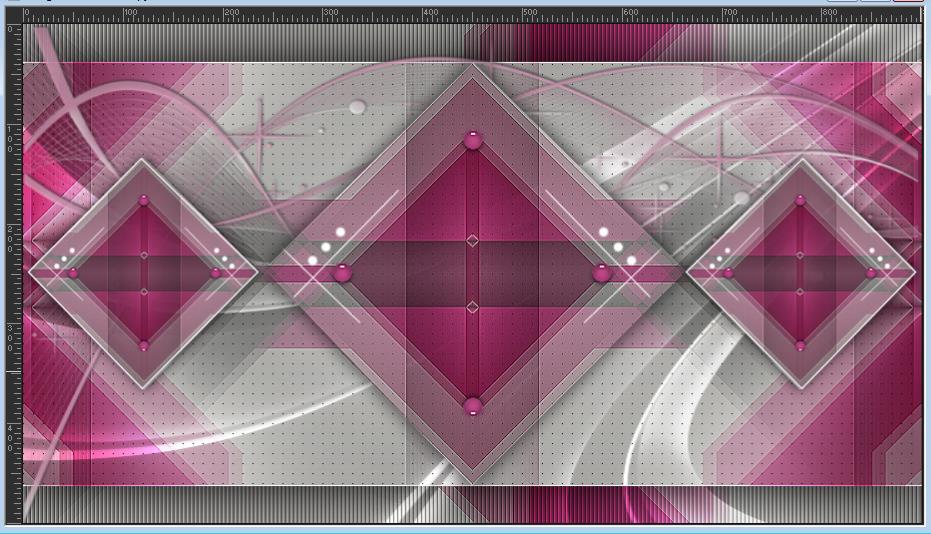
Result
STEP 7
File-Open- Heart PNG tube
Edit / Copy
On your work image: Edit - Paste As New Layer * Raster 3*
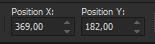
Active Pick Tool -Position X: 369 Position Y: 182
Effects - 3D Effects - Drop Shadow 0,0,80,30 Black (Same Setting)
Layer Palette - Double click on this Layer and set the Blend Mode to (Luminance) Opacity 80
Result
STEP 8
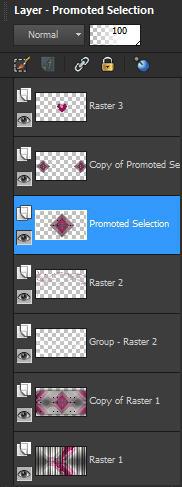
Active Promoted Selection
Open endless love TEXT (1).pngEdit / Copy
On your work image: Edit - Paste As New Layer
Adjust Sharpness – Sharpen
Merge / Merge Down
Result

STEP 9
Active top Layer ( Raster 3)
Open Deco Hearts .png
On your work image: Edit - Paste As New Layer
Active Pick Tool -Position X: 598 Position Y: 291

Layers – Duplicate Copy of Raster 4
Merge / Merge Down
Open endless love TEXT (2).png
Edit / Copy
On your work image: Edit - Paste As New Layer * Raster 5*
Active Pick Tool -Position X: 565 Position Y: 46

Layers - New Raster Layer * Raster 6*
Selections - Load/Save Selections - Load Selection From Disk / Melodi Endless-Love3
Flood fill - Fill With color #a6a6a6
Selections - Select None
Result
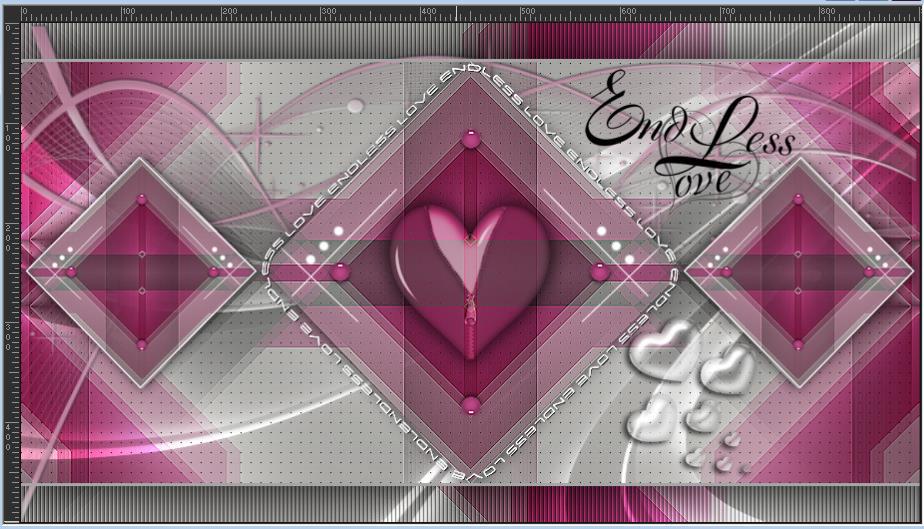
STEP 10
Image – Add Borders – Symmetric - 1 Pixel #373737
Image – Add Borders – Symmetric 15 Pixel #ffffff
Image – Add Borders – Symmetric 1 Pixel #373737
Image – Add Borders – Symmetric 3 Pixel #d43a91
Image – Add Borders – Symmetric 1 Pixel #373737 .
Image – Add Borders – Symmetric 15 Pixel with the #d43a91 color,
Select the border with your magic wand.
Effects Plugins - Greg's Factory Output Vol II - Pool Shadow standard.

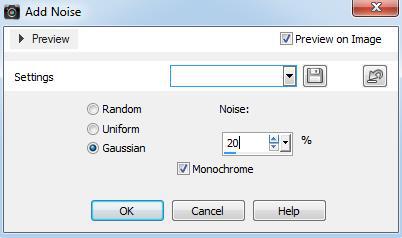
Adjust - Add noise – Gaussian 20% Even and Monochroom.
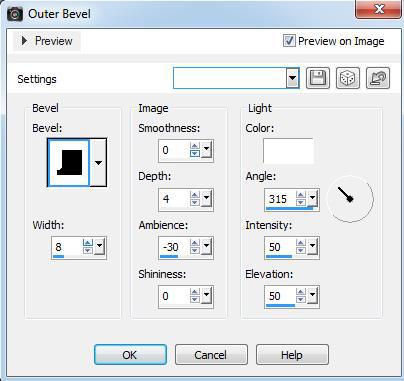
Effects - 3D Effects – Inner Bevel with these settings:
Selections - Select None
Image – Add Borders – Symmetric 1 Pixel #373737
Image – Add Borders – Symmetric 3 Pixel #d43a91
Image – Add Borders – Symmetric 1 Pixel #373737 .
Image – Add Borders – Symmetric 40 pixel color #ffffff
File-Open-Tube- Femme Mary 0312-1
Edit-Copy
Edit- Paste As New Layer
Image-Resize-By Percentage 80-Resize all layer not cheked
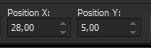
Active Pick Tool -Position X: 28 Position Y: 5
Adjust-Sharpness-Sharpen
Effects-Plugins-Alien Skin Eye Candy 5:Impact-Perspective Shadow-Drop Shadow , Low
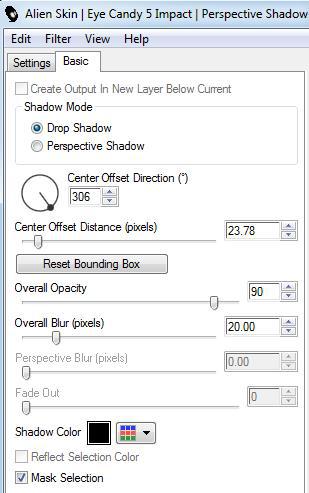
Image – Add Borders – Symmetric 1 pixel color #373737
Add your watermark
File-Save As Jpeg
10/08/2020


Thank you Kamil


Thank You Lisette


Thank You Ceylan


Thank You Trudy


 Thank You Saturnella


Thank You Olga


Thank You Desi


Thank You Castorke


Thank You Nadege

Thank you Inge Lore

Thank You Annelie

Thank You GOGO

Thank You Karin

Thank You Grances

Thank You Piahits


Thank You Clo

Thank You Broine


Thank You Karin M


Thank You Karin BBG

Thank You


Thank You Müşerref


Thank You Hüzünlüyıllar


Thank You Uschi
Thank You Delf


Hiç yorum yok:
Yorum Gönder