
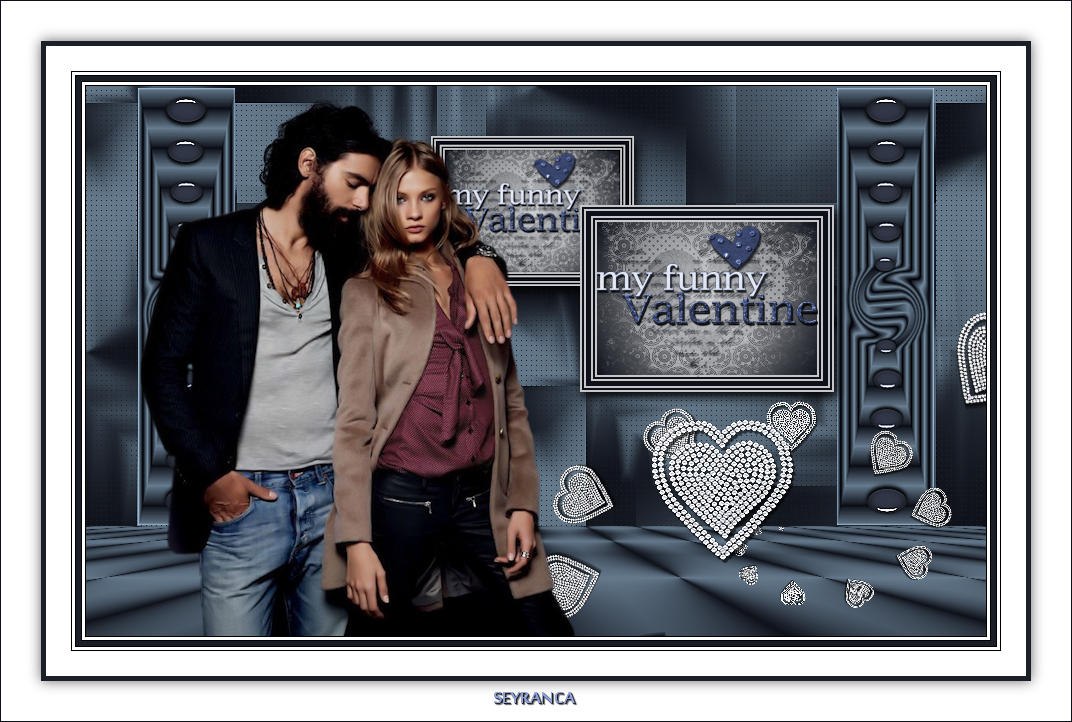
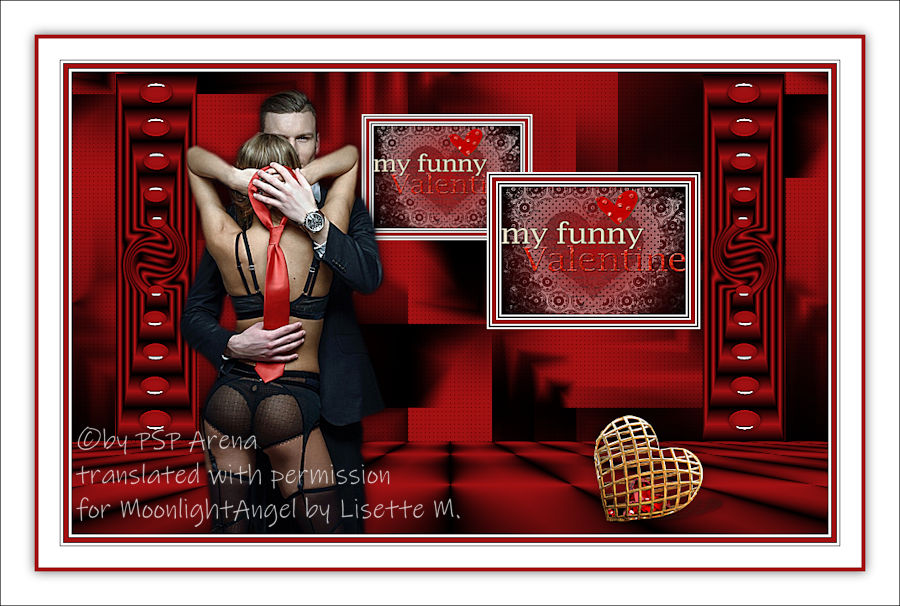
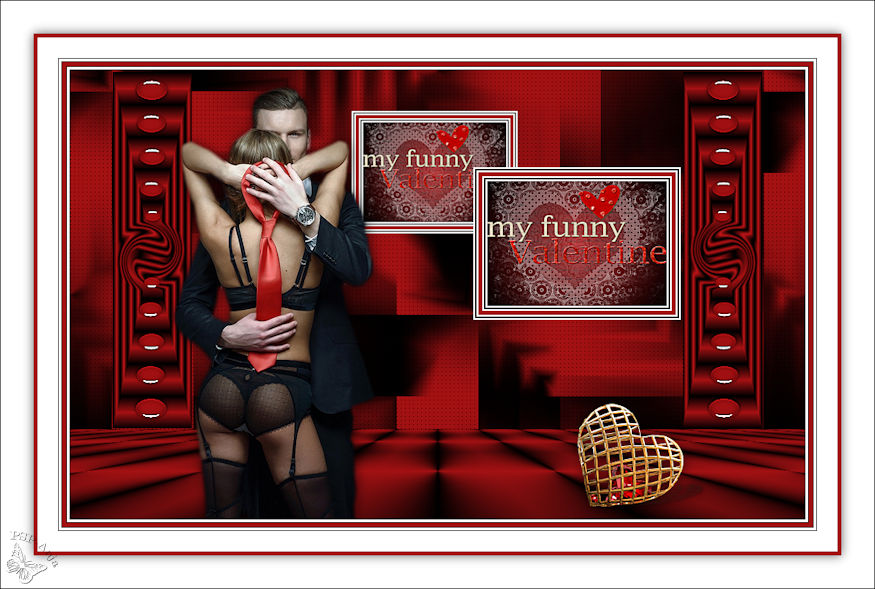
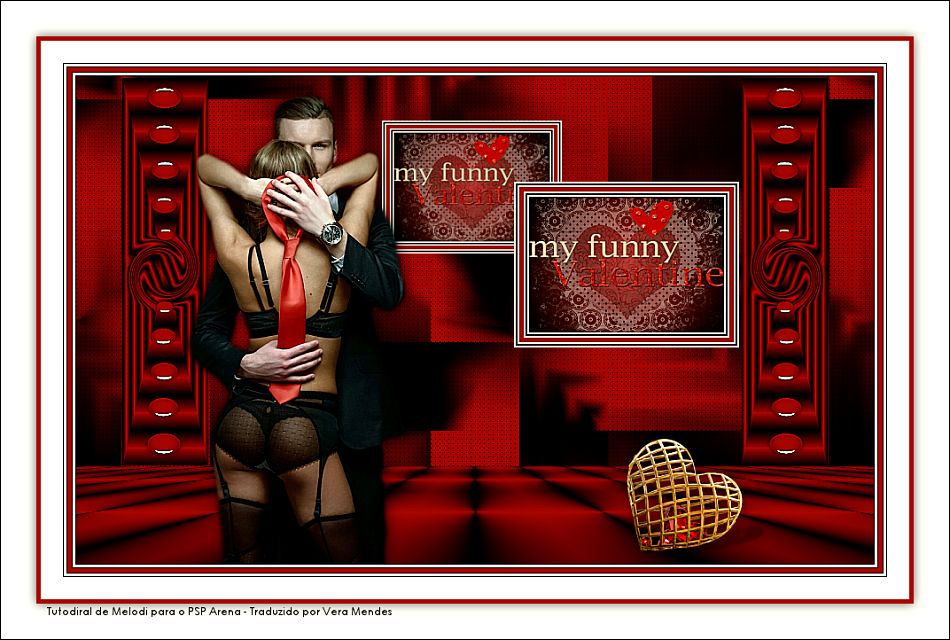
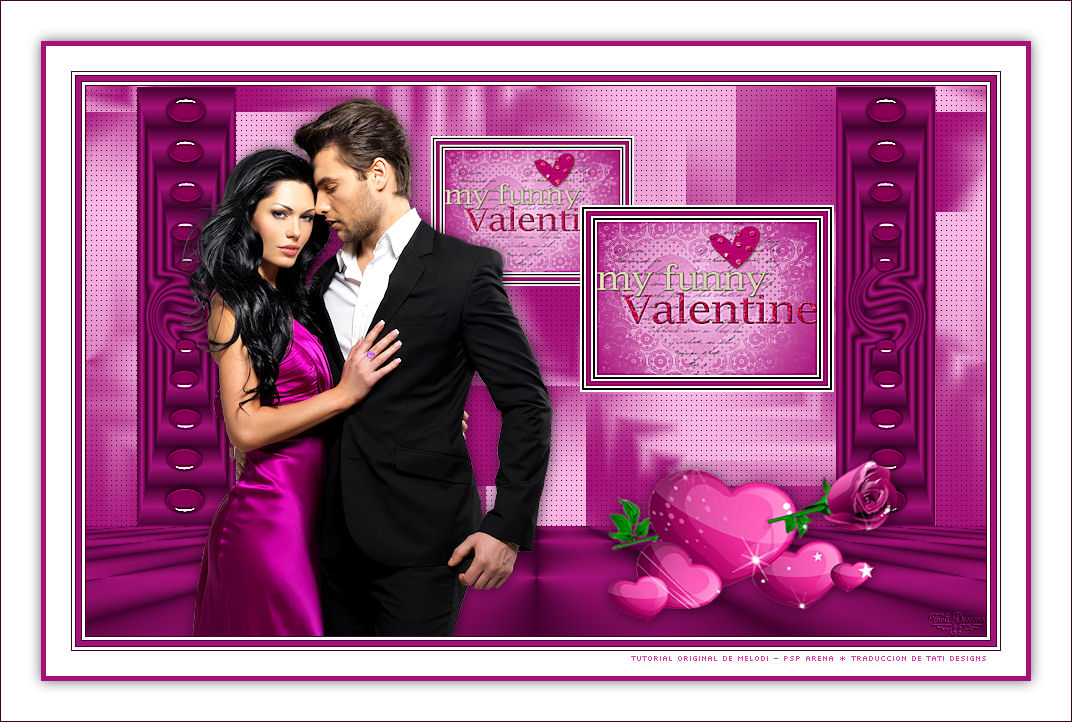
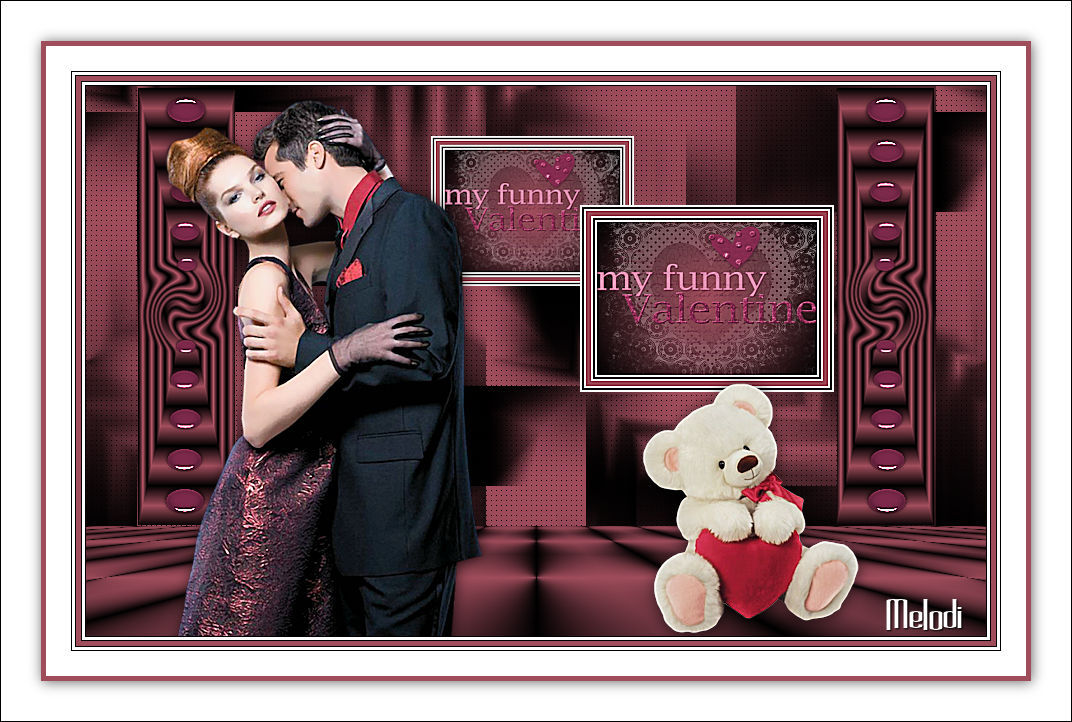
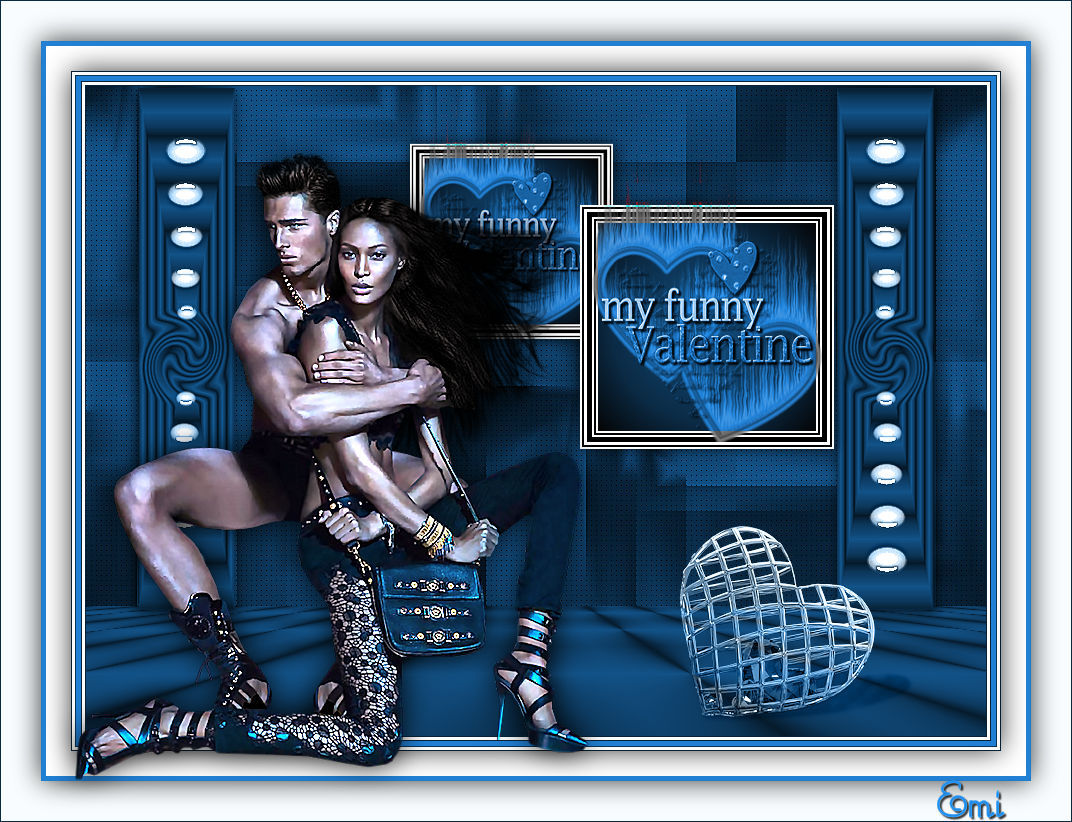
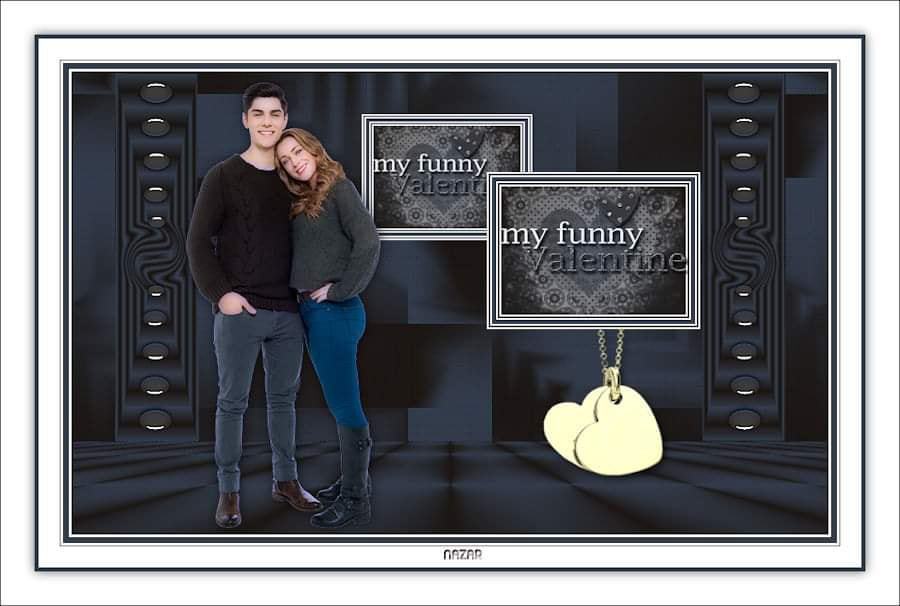
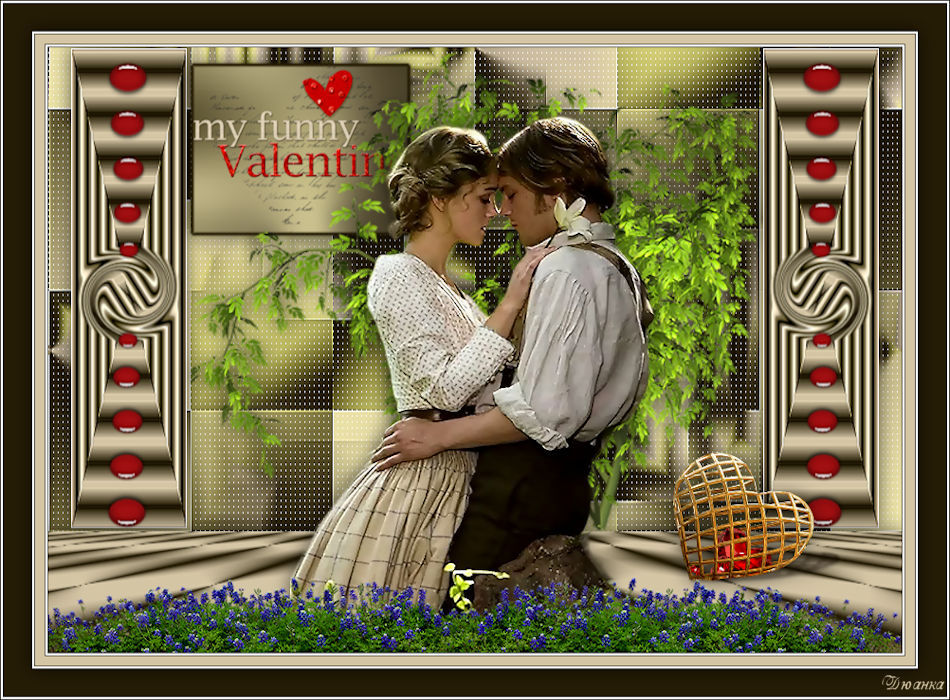
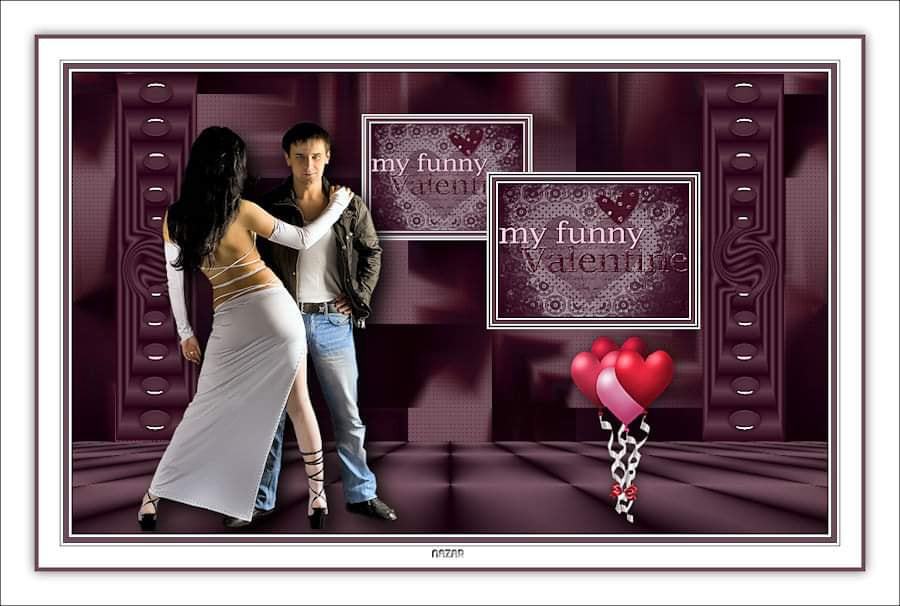
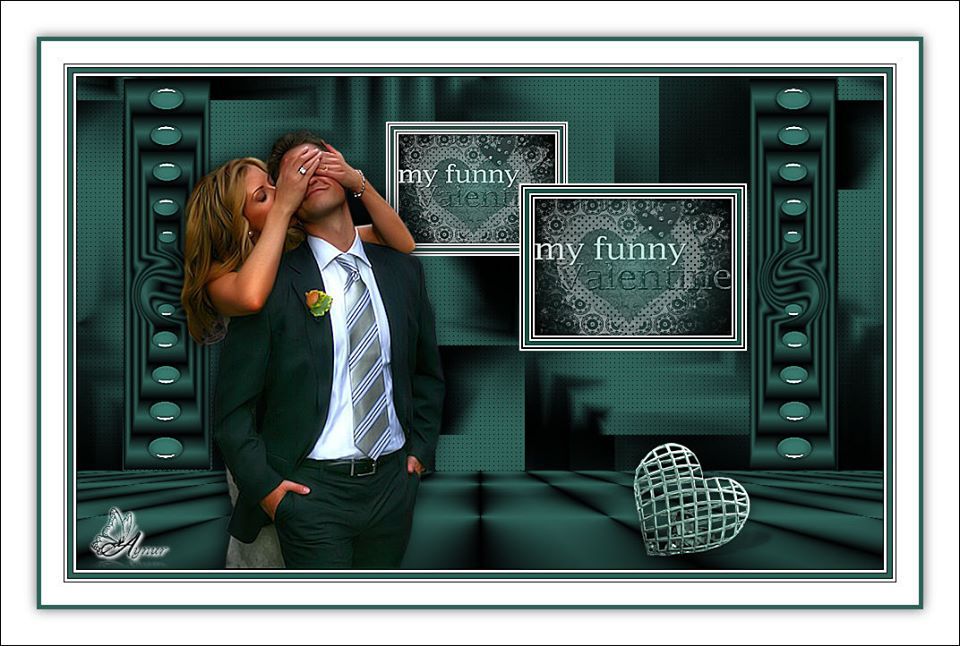
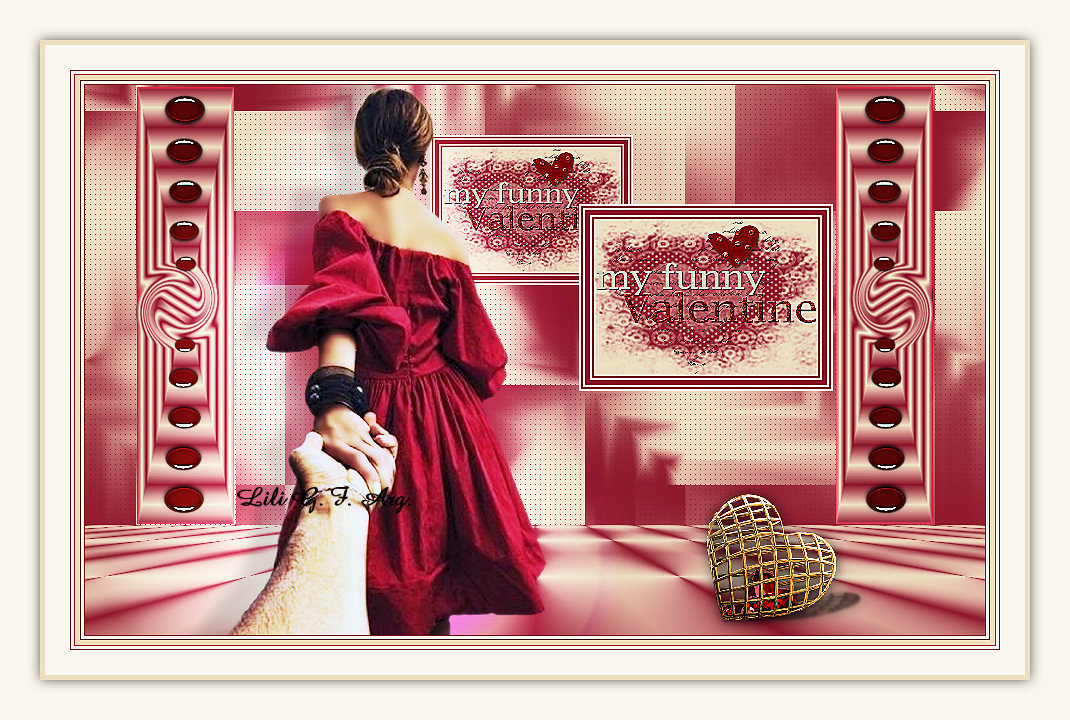
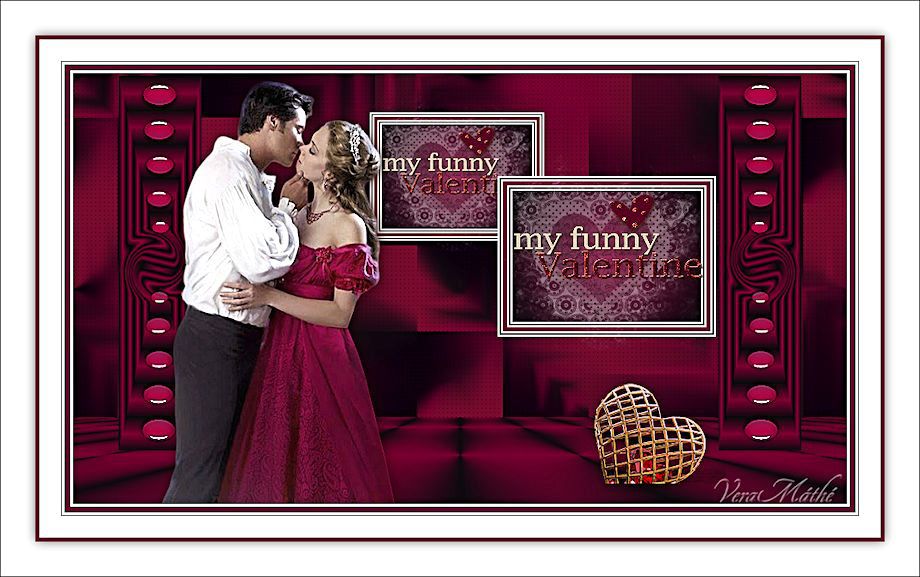
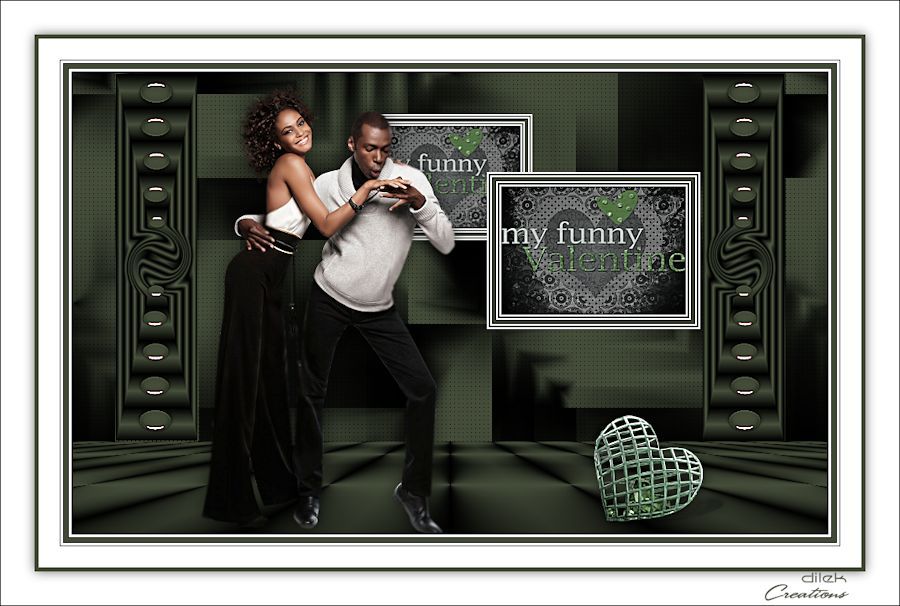
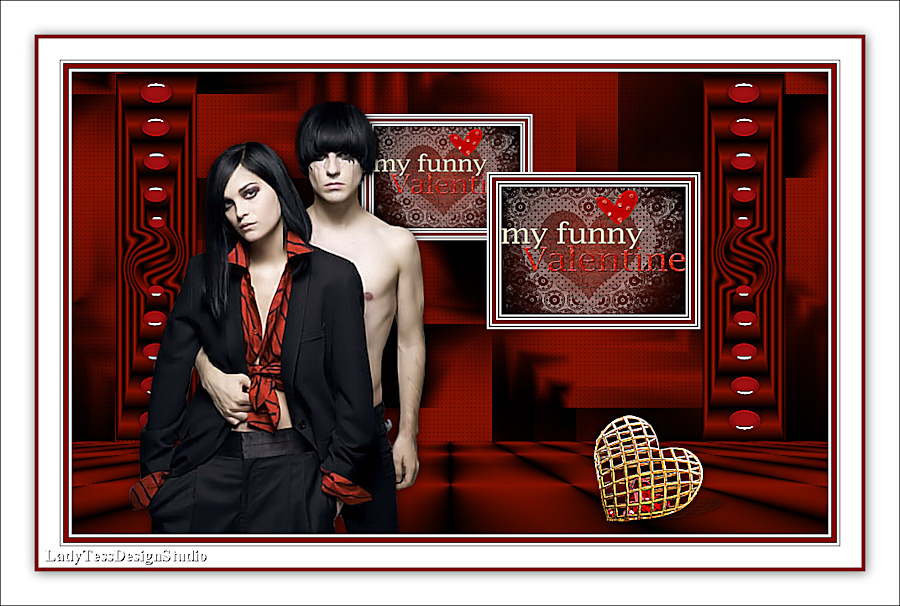
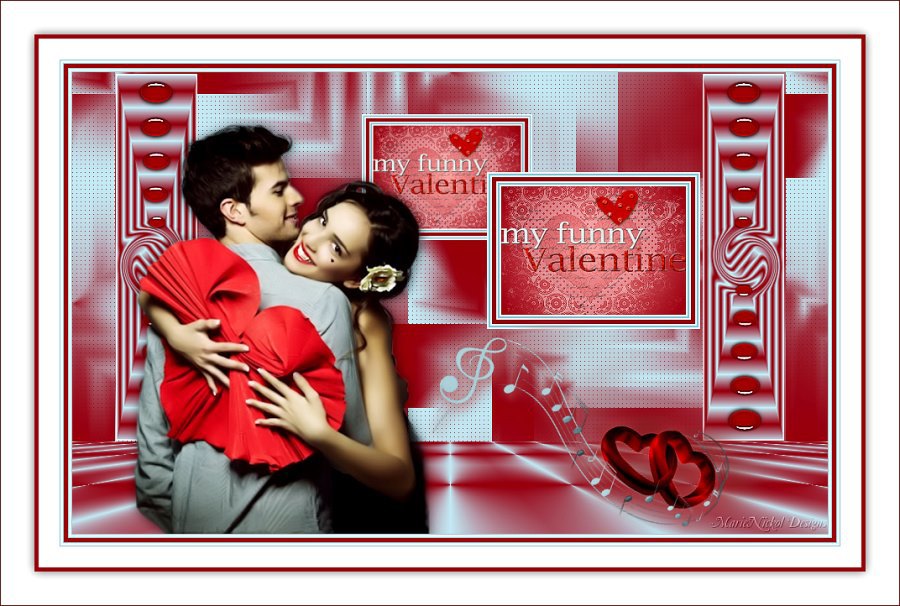
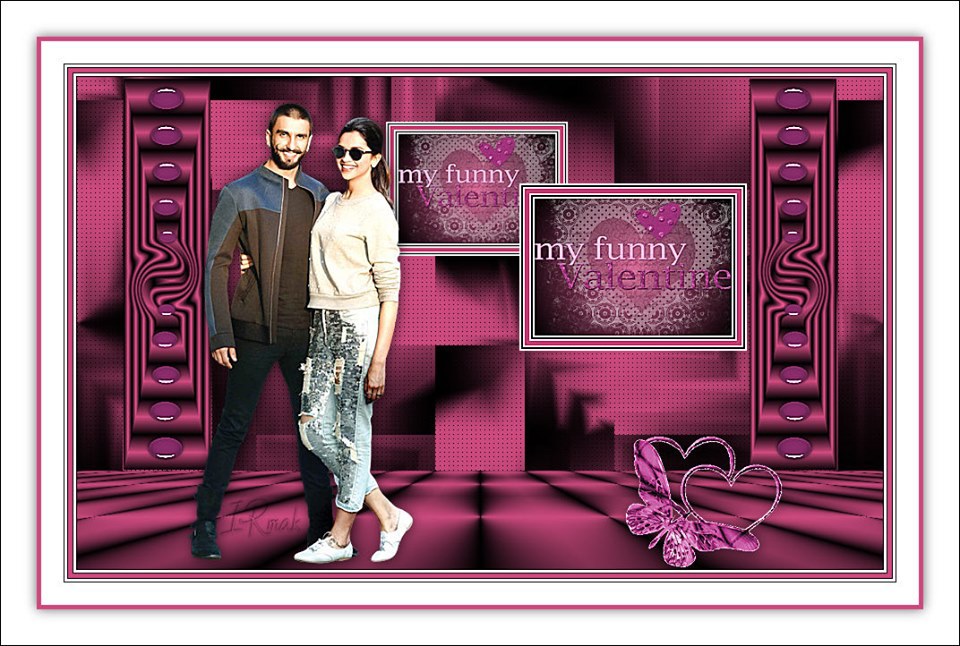
VALENTİNE’S DAY


Translators
Nederlandse vertaling door Lisette

Danke für die Deutsch Übersetzung Anja


Obrigada por traduzir este tutorial

 Gracias por la traducción al español Tati Design
Merci Colybrix pour la traduction française


This tutorial is written in PSP x8
Tubes : Drevers
Plugins:
Mehdi – Wavy Lab 1.1
Mehdi –Sorting Tiles
Plugins -MuRa’s Meister – Perspective Tiling 1.1
Foreground color to: #a31113
Background color to: #000000
Preparation:
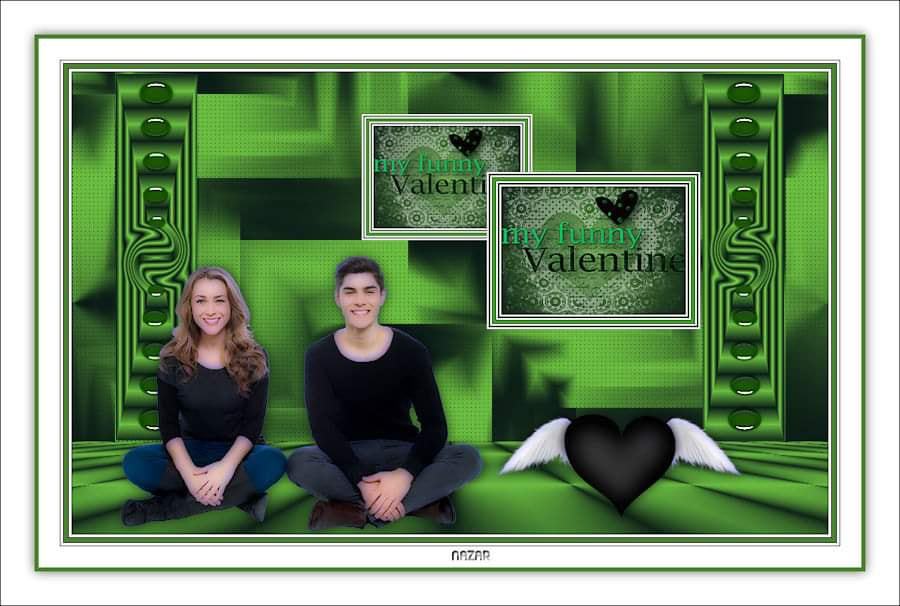
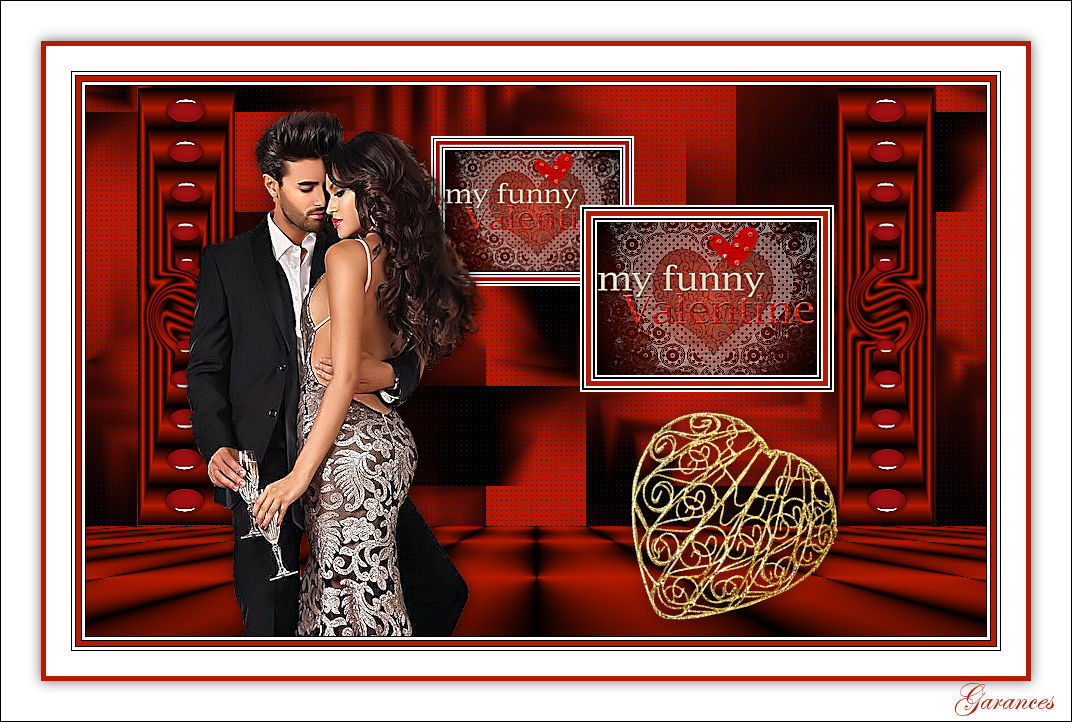
The colors, layer density and blending mode are for the materials of this lesson. If you use different material, just take a look at what is best for you...
Before Open psp Copy the Selection file in the Selections Folder of Psp
Download materials by clicking below


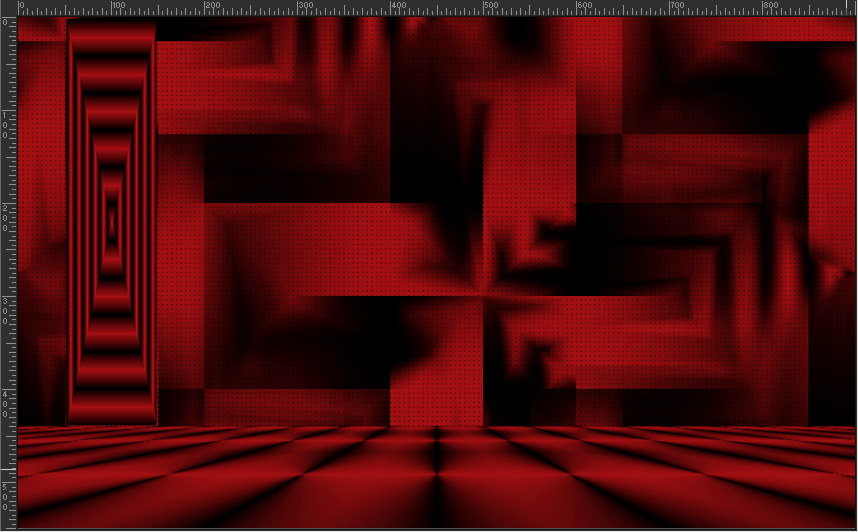
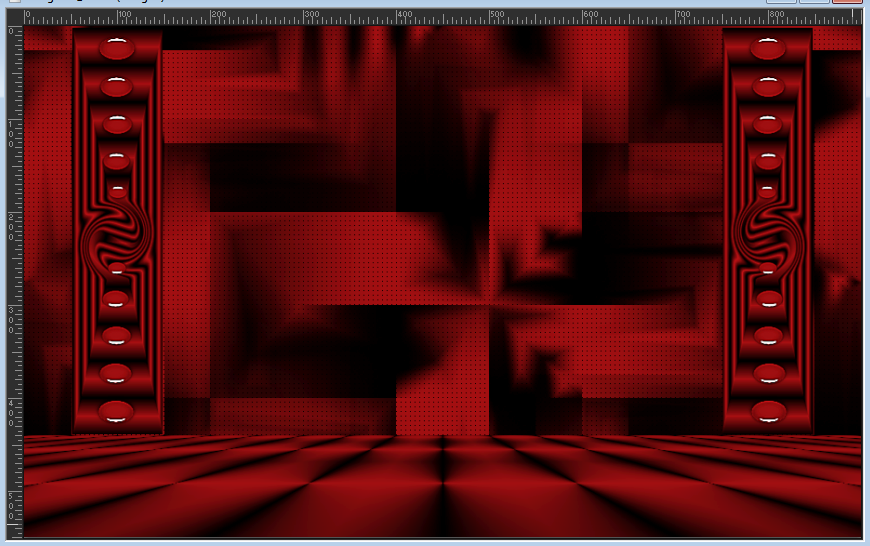
1- File Open – New 900 x 550
2- Effects -Plugins – Mehdi – Wavy Lab 1.1 Style Bow 20 / 90 / 0 / 40

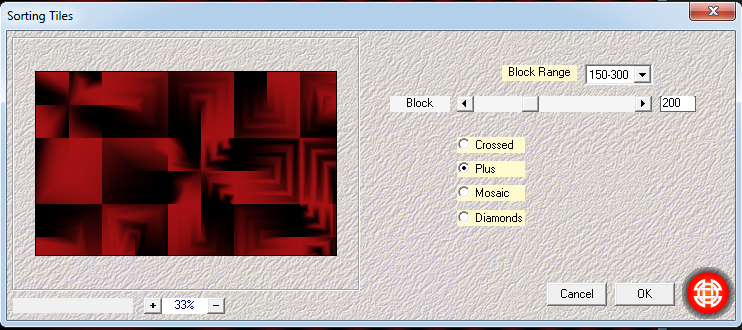
3 - Effects -Plugins – Mehdi –Sorting Tiles / Block Range : 150 – 300 /Block 200 /Plus
4- Layers - Duplicate
5- Effects -Image Effects – Seamless Tiling

6- Merge/ Merge Down
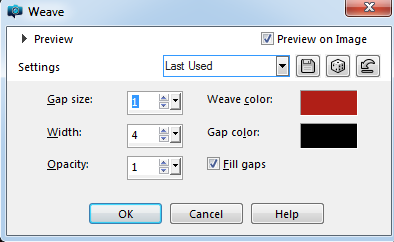
7- Effecets- Texture Effecets / Weave 1/4/1
8- Layers -New Raster Layer
9- Selections /Load/Save Selection/Load Selection From Disk Melodi_valentine1
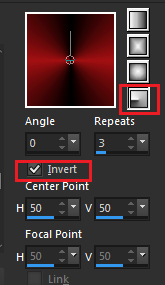
10- Create a foreground/background (style Radial) Gradient
Angle: 0 / Repeats: 3 /Center Point end Focal Point : H 50 – V 50
11- Flood Fill Tool / Fill Gradient
12- Selections /Select None
13- Effects – Plugins -MuRa’s Meister – Perspective Tiling 1.1

14- Layers - Merge / Merge Visible
15- Layers -New Raster Layer
16- Selections /Load/Save Selection/Load Selection From Disk Melodi_valentine 2
17- Create a foregorund background Gradient (style Rectangular)
Angle: 0 / Repeats: 10 /Center Point end Focal Point : H 50 – V 50

18- Flood Fill Tool / Fill Gradient
19- Selections /Select None
20- Adjust Sharpness – Sharpen More
Result
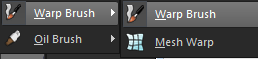
21- Toolbar Options – Activate Warp Brush

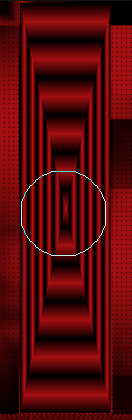
22- Click and hold the location shown . Rotate half a turn

23- Files -Open -deco valentine
24- Edit – Copy and Minimize-Return to your work – Edit Paste As New Layer
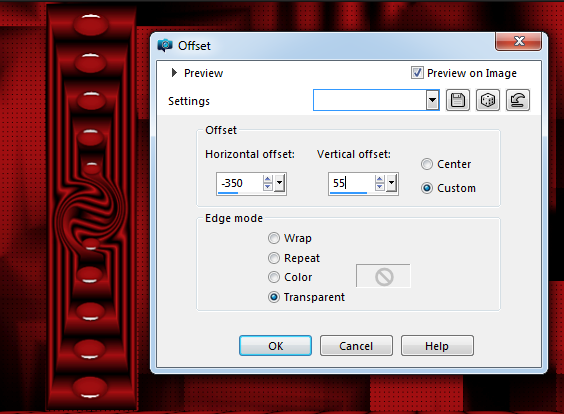
25- Effects – Image Effects – Ofset H: -350 V: 55
26- Adjust Sharpness – Sharpen More
27- Merge/ Merge Down
28- Layers – Duplicate
29- Image mirror –Mirror Horizontal
30- Merge / Merge Visible
Result
31- Layers -New Raster Layer
32- Selections /Load/Save Selection/Load Selection From Disk Melodi_valentine 3
33- Flood Fill Tool / Fill #ffffff
34- Selections/ Modify / Contract 2 pix
35- Flood Fill Tool / Fill #000000
36- Selections/ Modify / Contract 2 pix
37- Flood Fill Tool / Fill #ffffff
38- Selections/ Modify / Contract 2 pix
39- Flood Fill Tool / Fill #a31113
40- Selections/ Modify / Contract 5 pix
41- Flood Fill Tool / Fill #ffffff
42- Selections/ Modify / Contract 2 pix
43- Flood Fill Tool / Fill #000000
44- Selections/ Modify / Contract 2 pix
45- Flood Fill Tool / Fill #ffffff
46- Selections/ Modify / Contract 2 pix
47- Keep Selection!
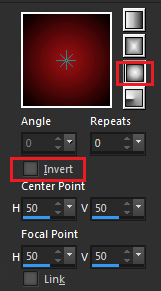
48- Create a Gradient ( Style Sunburst )
Angle: 0 / Repeats: 0 /Center Point end Focal Point : H 50 – V 50
49- Flood Fill Tool / Fill Selection with Gradient
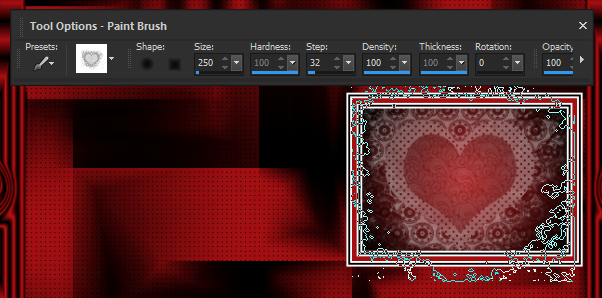
50- Tool Options – Paint Brush / Open kalp
51- Foreground color : #ffffff
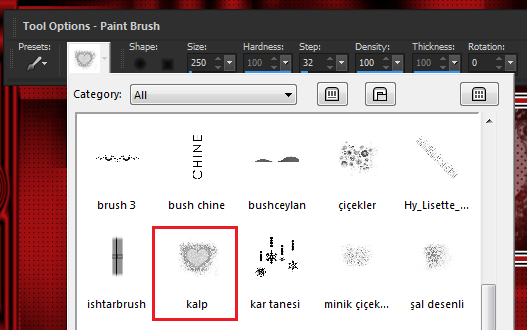
52- Size: 250 /Hardness: 100 / Step: 32
53- Apply the brush into the selection
54- File -Open - deco anonymous - Edit – Copy and Minimize-Return to your work – Edit Paste Into Selection
55- Selections /Select None
56- Adjust Sharpness – Sharpen More
57- Layers – Duplicate
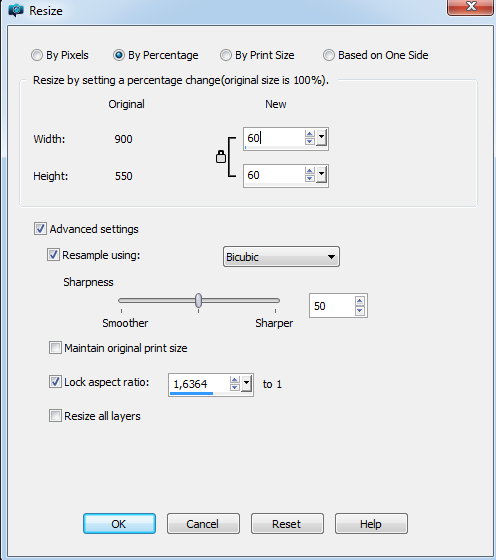
58- Image Resize %80
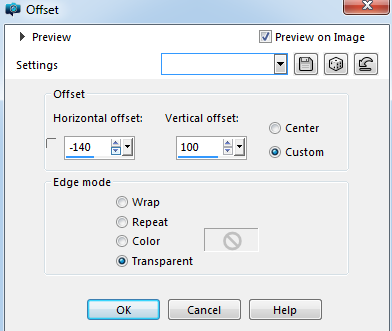
59- Effects – Image Effects – Ofset H: -140 V: 100
Layers - Arrange Move Down
60- Merge- Merge Visible
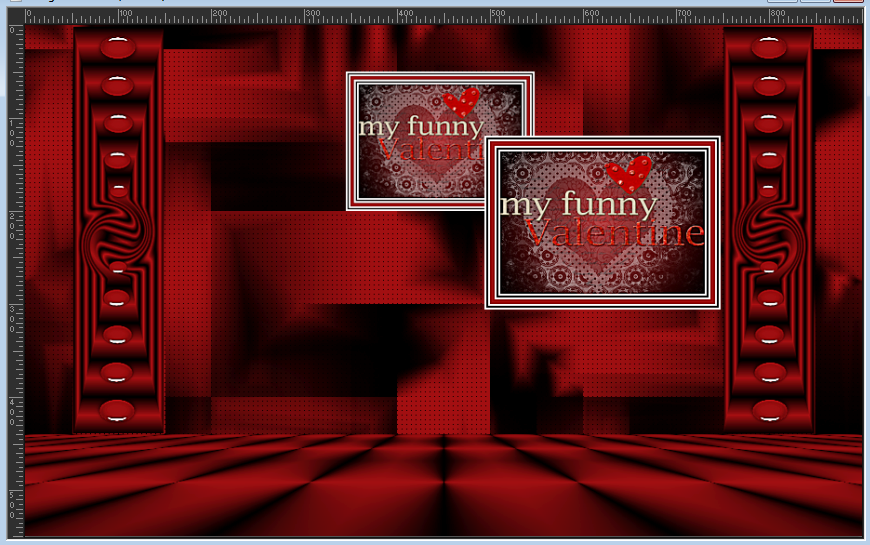
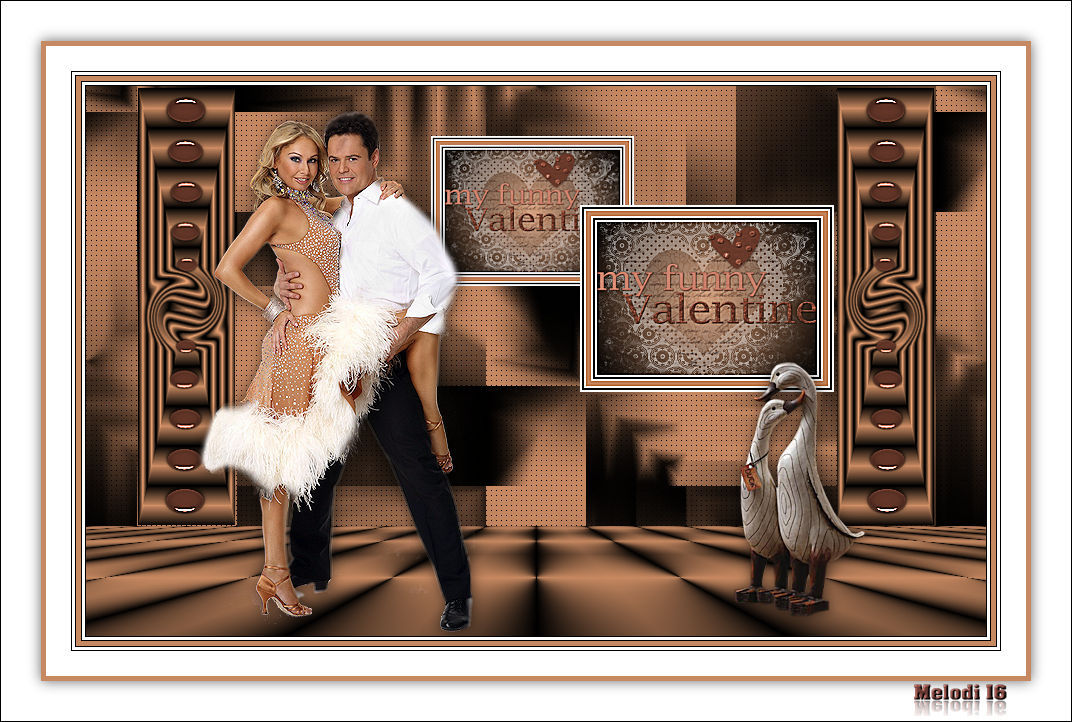
Result
61- Files -Open - Deco WliF
62- Edit – Copy and Minimize-Return to your work – Edit Paste As New Layer
63- Image – Resize % 40 (all layers not checked)
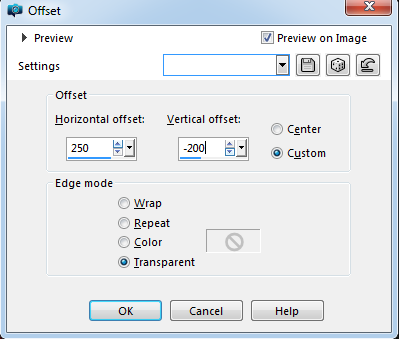
64- Effects – Image Effects – Ofset H: 250 V: -200
65- Adjust Sharpness – Sharpen More
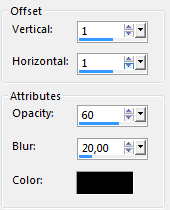
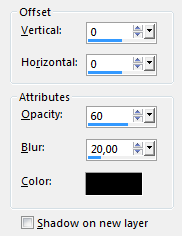
66- Effets – 3D Effects – Drop Shadow – V: 1 H: 1 O: 60 B: 20
67- Files -Open –Tube Drevers_couple_04
68- Edit – Copy and Minimize-Return to your work – Edit Paste As New Layer
69- Image – Resize % 60 (all layers not checked)
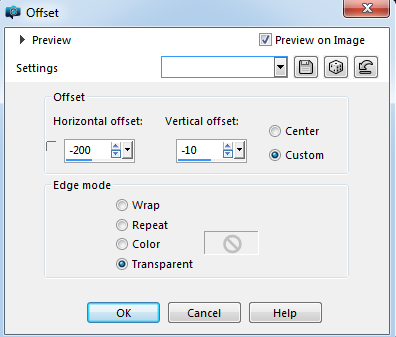
70- Effects – Image Effects – Ofset H: -200 V: -10
71- Adjust Sharpness – Sharpen More
72- Effets – 3D Effects – Drop Shadow – V: 1 H: 1 O: 60 B: 20
73- Image – Add Borders – Symmetric checket 1 pixel, color #000000
74- Image – Add Borders – Symmetric checket 3 pixel, color #ffffff
75- Image – Add Borders – Symmetric checket 1 pixel, color #000000
76- Image – Add Borders – Symmetric checket 5 pixel, color #a31113
77- Image – Add Borders – Symmetric checket 1 pixel, color #000000
78- Image – Add Borders – Symmetric checket 3 pixel, color #ffffff
79- Image – Add Borders – Symmetric checket 1 pixel, color #000000
80- Image – Add Borders – Symmetric checket 25 pixel, color #ffffff
81- Image – Add Borders – Symmetric checket 5 pixel, color #a31113
82- Sellections- Sellect All
83- Image – Add Borders – Symmetric checket 40 pixel, color #ffffff
84- Effets – 3D Effects – Drop Shadow V: 0 H: 0 O: 60 B: 20
85- Sellections- Sellect None
86-Image – Add Borders – Symmetric checket 1 pixel, color #000000
87-Add your name or watermark
File – Save As JPG

Thank You Clo


Thank You Saturnella

Thank you Evalynda

Thank You Colybrix


